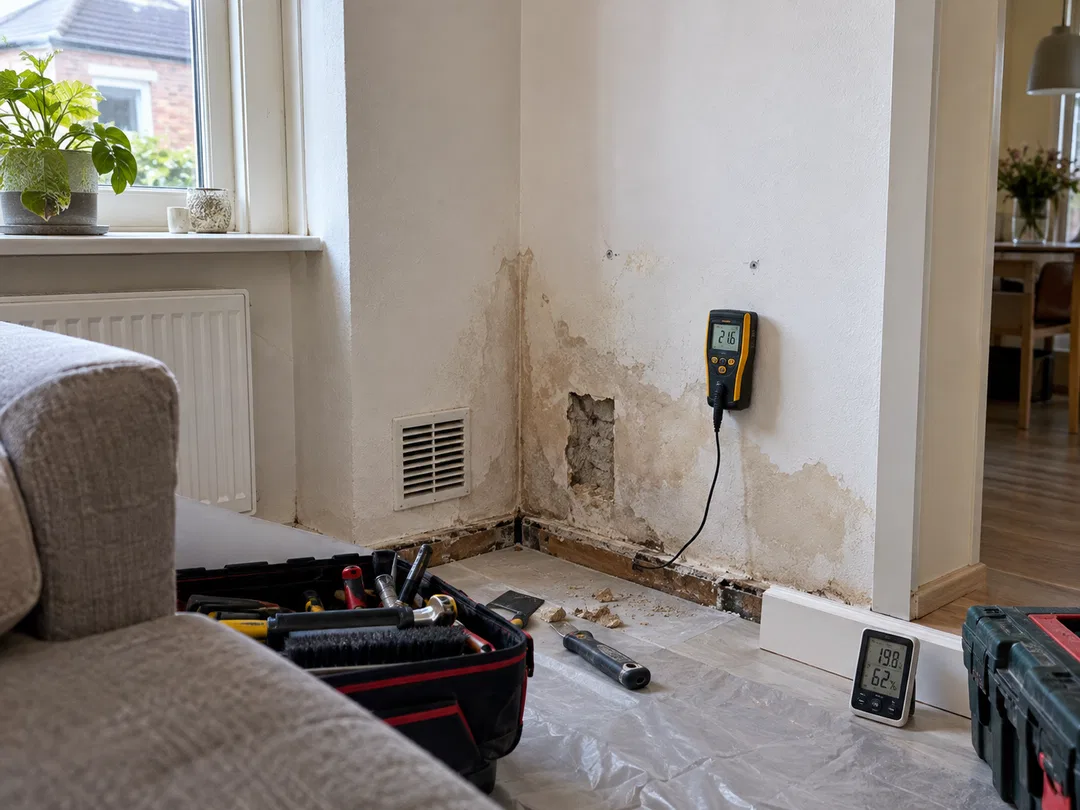
Moisture stains on the wall: first solve the cause, then plaster and paint
Painting over a moisture stain may make the wall look neat temporarily, but when the cause persists, the damage usually returns.
At MULTI Klussenbedrijf, we therefore treat a moisture stain first as a signal.
In Dutch homes, there are roughly four common causes:
condensation → leakage → penetrating moisture → rising damp.
The location of the stain, its shape, and the timing of when it grows or shrinks often provide much information about the possible cause.
1. Condensation: often in cold corners
Condensation occurs when warm, humid indoor air meets a cold surface.
Typical locations are:
- external corners;
- around window frames;
- behind large furniture;
- ceiling edges;
- and other cold parts of the external facade.
Fogged windows, black mold spots, and a musty smell can be additional signals.
According to the article, condensation is especially prevalent during the heating season and the risk increases when relative humidity remains above approximately 60% for extended periods.
In such a situation, simply replastering makes little sense.
First, ventilation, heating, and any thermal bridges or insufficient insulation must be examined.
2. Leakage: look for the pattern
A leak often produces a more clearly defined moisture stain.
Does the stain grow after showering? Does it appear after rain? Is it under a bathroom, roof dormer, or pipe zone?
Such patterns are important.
Common causes can include:
leaking pipe connections, damaged shower sealing, worn caulk joints, a roof or roof dormer connection, or a downpipe causing problems.
With a leak, moisture can also travel further through the structure before becoming visible.
So the stain on the wall is not always exactly where the leak is located.
3. Penetrating moisture: also look outside
When moisture becomes visible mainly on an external wall and worsens after prolonged rain and wind, the cause may lie on the facade side.
Consider:
- worn mortar joints;
- cracks in the facade;
- poor connections;
- damaged exterior paintwork;
- or a downpipe allowing water to run against the facade.
With penetrating moisture, a lasting repair therefore usually starts on the outside, not with interior plastering.
4. Rising damp: especially at the bottom of the wall
Rising damp usually looks different.
It is found mainly in the lower 50–100 cm of the wall and can form a fairly horizontal moisture line.
White salt crystals and flaking or lifting plaster can also occur.
We see this problem especially in older homes where the damp-proof course is missing or no longer functioning properly.
In such situations, simply replastering is not enough. The moisture source must first be addressed structurally.
Don't plaster immediately: the wall must dry first
Once the cause is resolved, the structure must be given sufficient time to dry.
This is often underestimated.
A superficial condensation stain may need approximately 1–2 weeks with good ventilation and heating.
A wall that has become deeply wet from a leak may need 4–8 weeks according to the article.
Only then can damaged material be removed and new plasterwork applied.
The new plasterwork itself must then dry sufficiently before painting.
Painting too early can make the problem visible again
Paint can trap moisture in the wall when the substrate is not yet dry enough.
This can later lead to:
blistering → discoloration → peeling paint → damaged plasterwork again.
That's why we follow this sequence during repair:
fix the cause → dry sufficiently → remove loose parts → prepare substrate → restore plasterwork → dry again → paint.
This sequence is more important than the speed at which the wall can be made white again.
What does repair cost approximately?
The blog provides as an indication for 2026:
- moisture measurement by specialist: €150–€400;
- local plasterwork repair up to approximately 1 m²: €150–€350;
- entire wall smooth plastering: €25–€45 per m²;
- ceiling replastering: €30–€55 per m²;
- remedial plaster for salt damage: €60–€120 per m²;
- insulating facing wall against thermal bridge: €90–€170 per m².
Actual costs are determined mainly by the cause, not by the size of the visible stain.
For example, a small moisture stain can come from a relatively large leak, while a larger condensation stain can sometimes be addressed with ventilation and insulation.
When is further investigation advisable?
Professional assessment is especially advisable when:
the same stain keeps returning, plasterwork sounds hollow or is lifting, there is clear salt efflorescence, a ceiling under a bathroom or flat roof becomes wet, or the cause is not clearly identifiable.
For larger moisture problems, a separate moisture measurement or specialist investigation may be needed before repair work is scheduled.
Moisture stain in your home?
Send via AtaList several clear photos of:
- the entire wall;
- the moisture stain close-up;
- the floor or ceiling edge around it;
- possibly the outside of the same wall;
- and adjacent bathroom, pipe, or window frame zones.
Also indicate when the stain grows larger: after rain, after showering, mainly in cold months, or continuously.
With that information, we can better assess whether it is likely condensation, leakage, penetrating moisture, or rising damp, and which repair path is logical.
For a definitive assessment, a free inspection or, if necessary, additional moisture measurement can be scheduled.
📧 Email: info@multiklussenbedrijf.nl
💬 WhatsApp: Click to send a message.
Please log in to add a comment.
LoginNo comments yet. Be the first to comment!